
Image to 3D Model
Upload one picture and get a textured 3D model you can spin around in your browser and download as a GLB file.
Image to 3D
Best results: one subject, clear front view, plain background. The AI fills in the sides and back.
Examples
Drag the example to rotate it.
Image to 3D examples
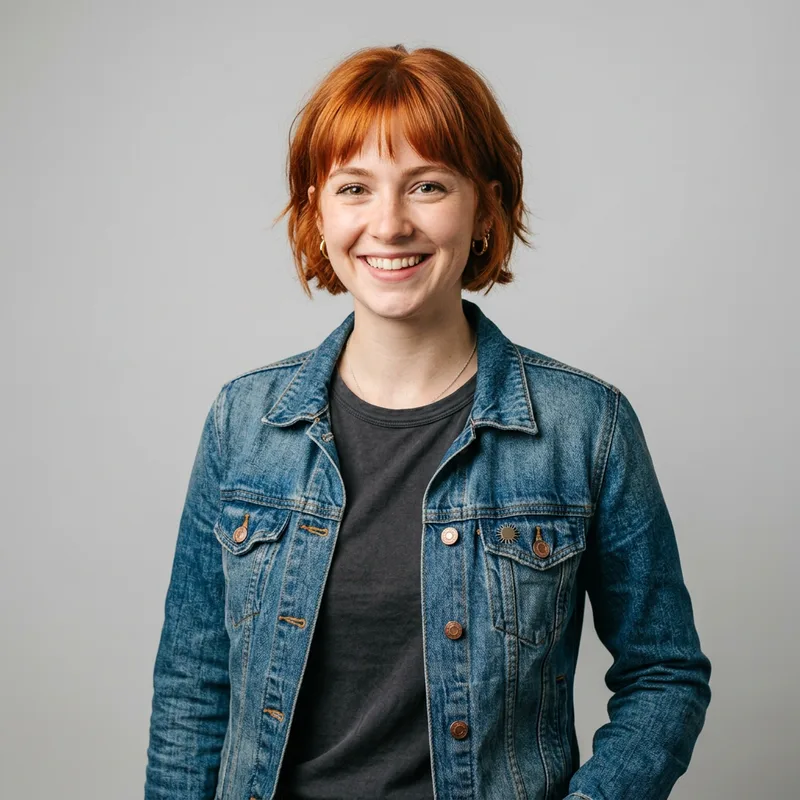
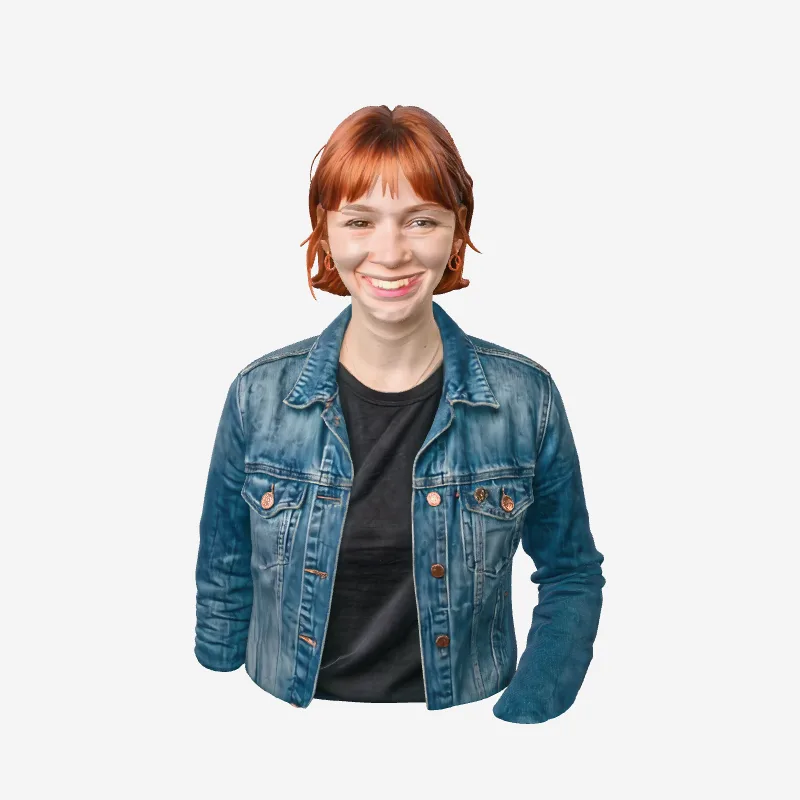
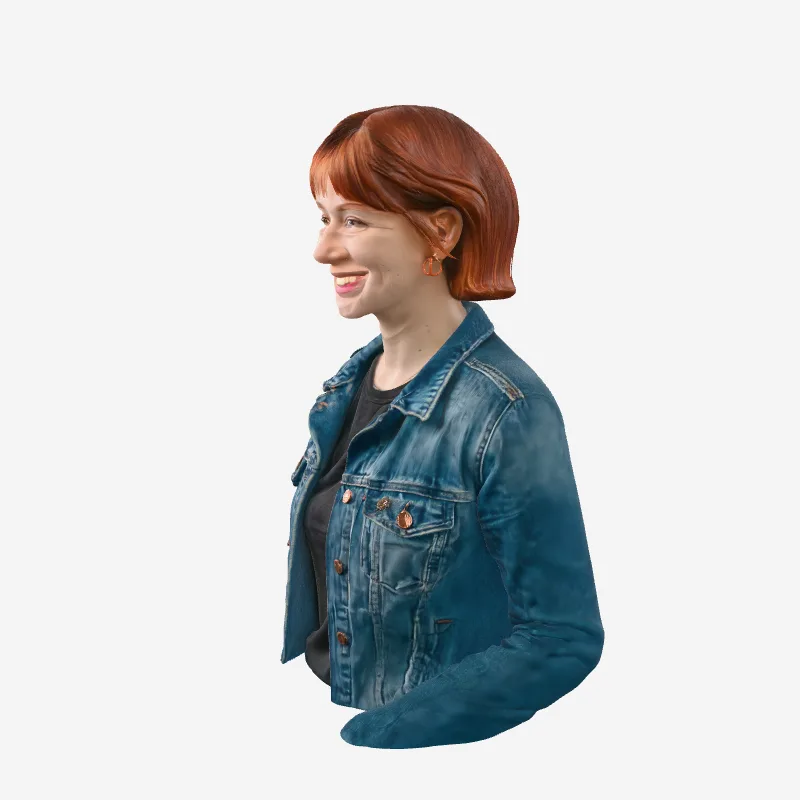
Five real results. Each row shows the single picture we uploaded, then the generated 3D model from the front and from the side, rendered straight from the GLB with no cleanup or retouching.
Half-body portrait → avatar bust
A photo of a real person becomes a textured bust with the hair, face and jacket intact. A good starting point for a game or VR avatar, or a printed desk bust. The face is a close likeness, not a precise scan.
 Photo
 3D · front
 3D · side
Full-body knight → game character
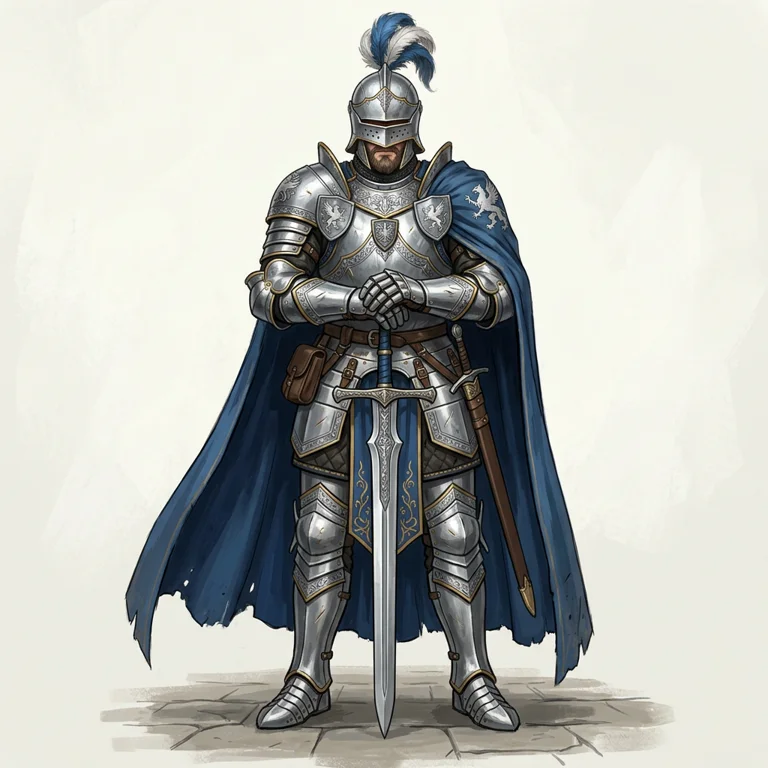
Concept art of a knight turns into a full figure with cape, sword and helmet. Drop the GLB into Blender, Unity or Godot to block out a level, test camera angles or prototype a character before final modeling.
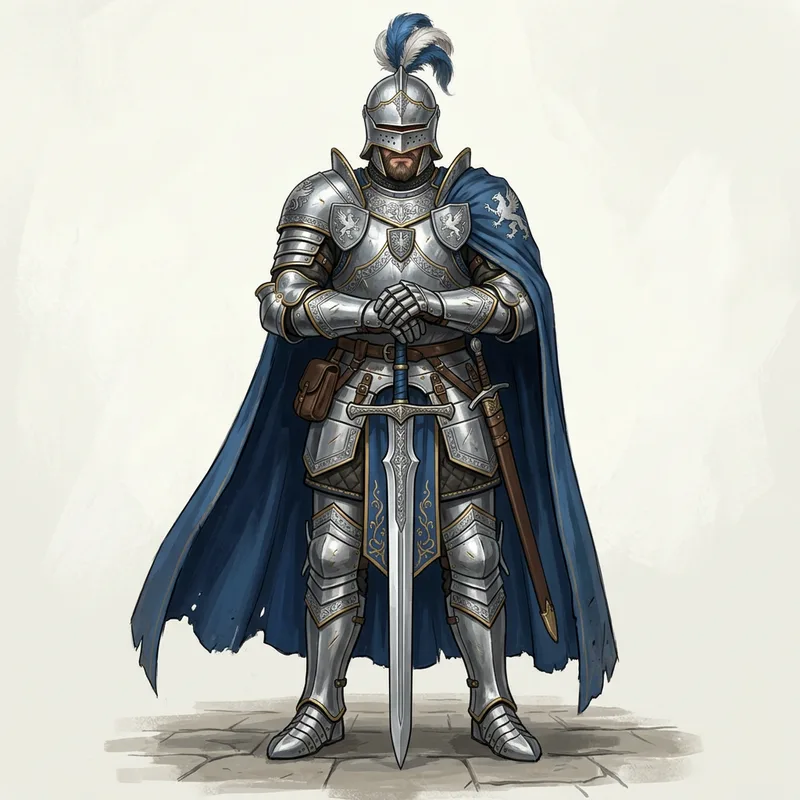 Photo
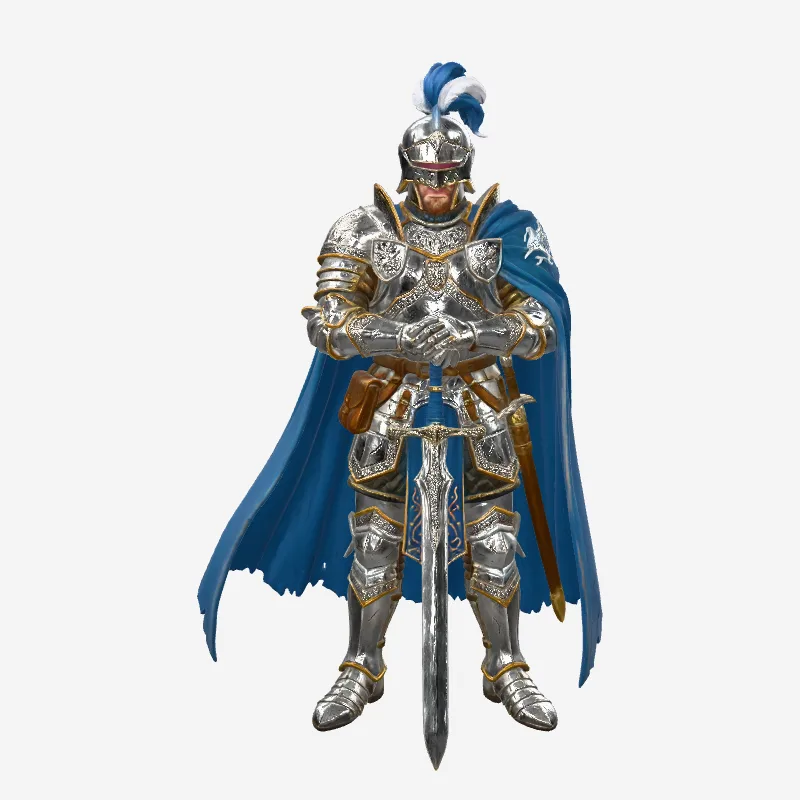 3D · front
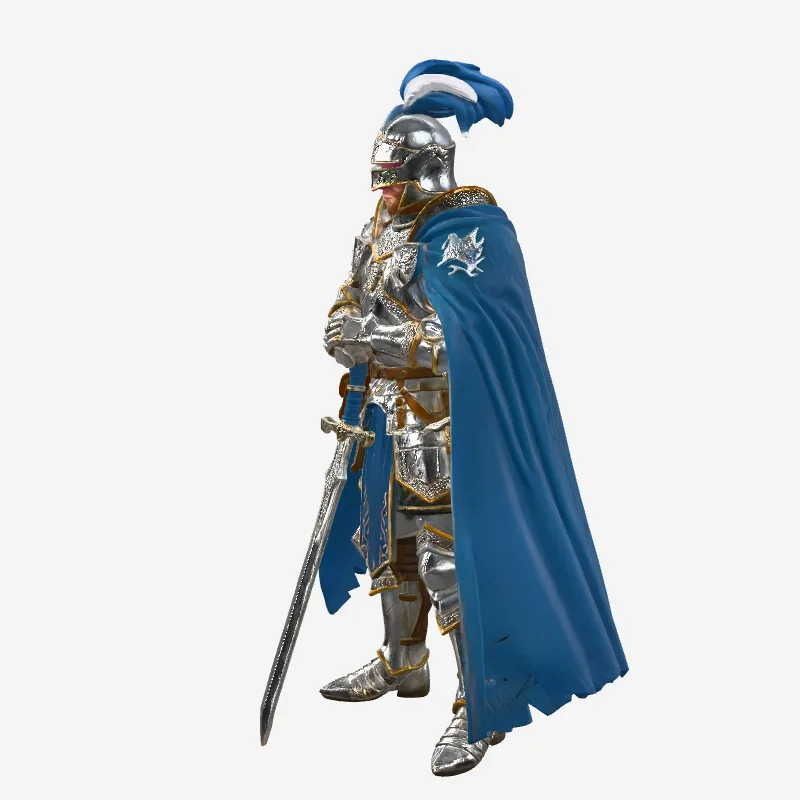 3D · side
Anime chibi → collectible figure
The stylized proportions, twin tails and uniform colors carry over to the model. Chunky, solid shapes like these are ideal for a 3D-printed figurine or desk toy.
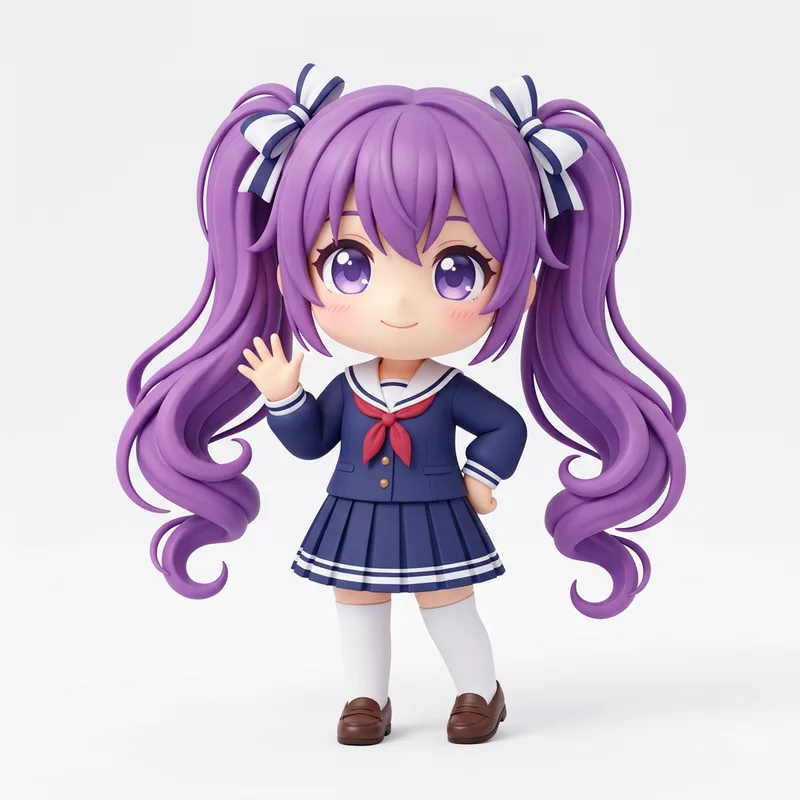 Photo
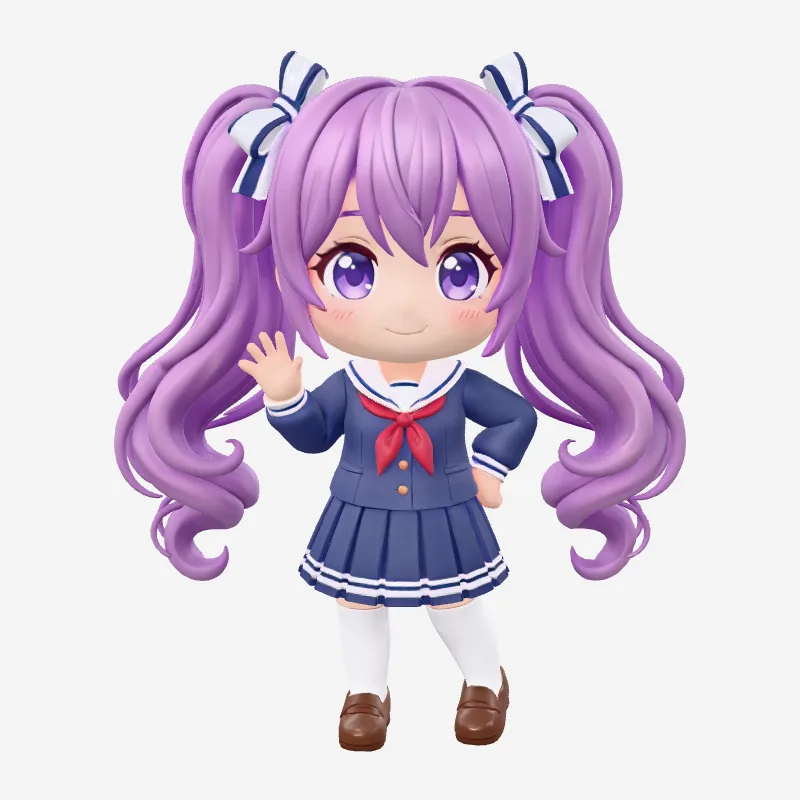 3D · front
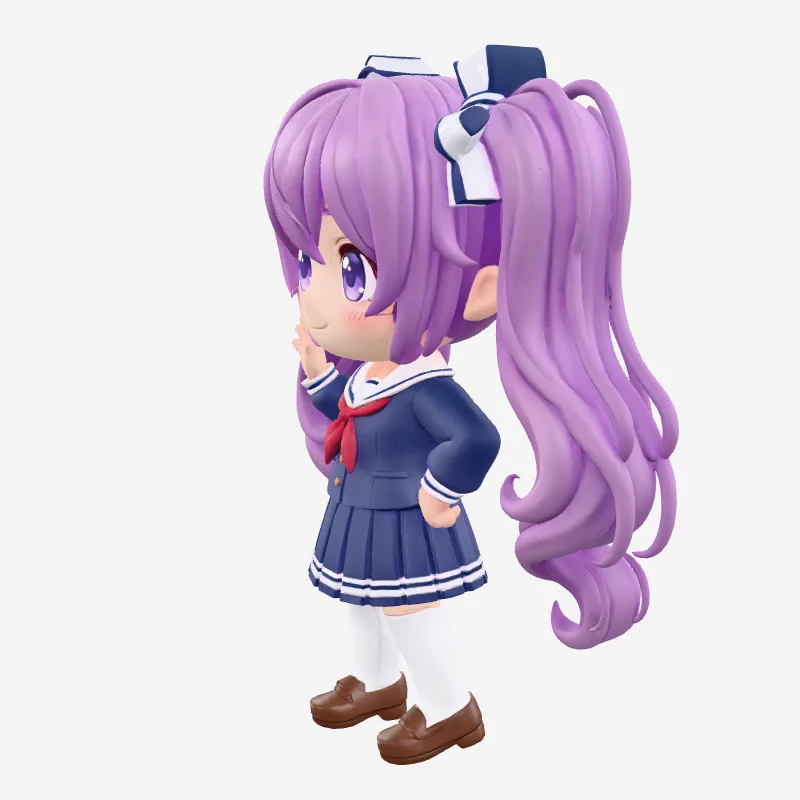 3D · side
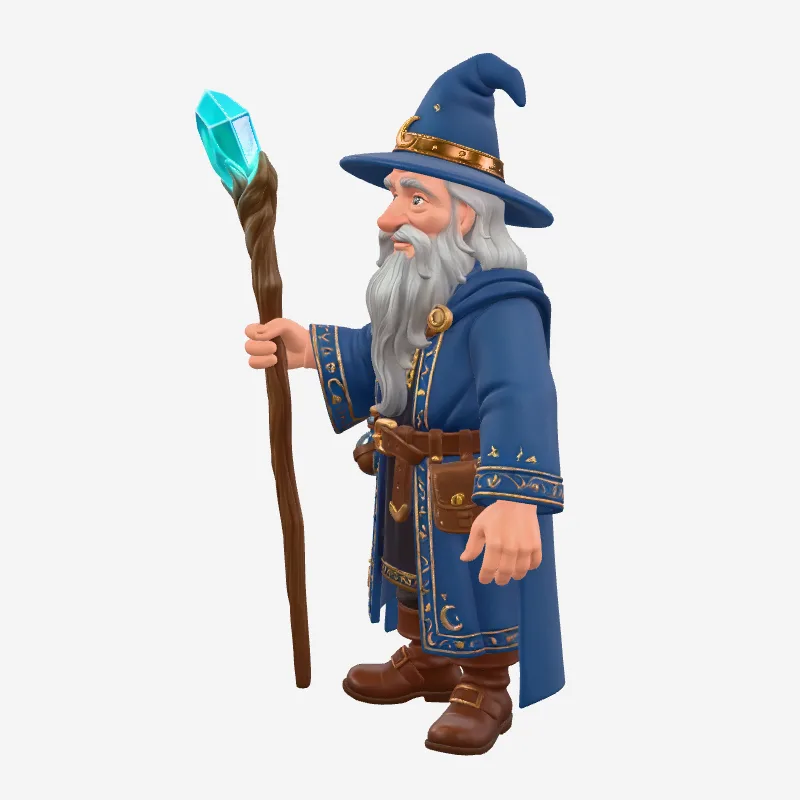
Wizard with staff → character with a prop
Thin props are the hard part of image to 3D. Here the staff and crystal come through attached to the hand. Works well as a tabletop miniature or an NPC; thicken the staff before printing it small.
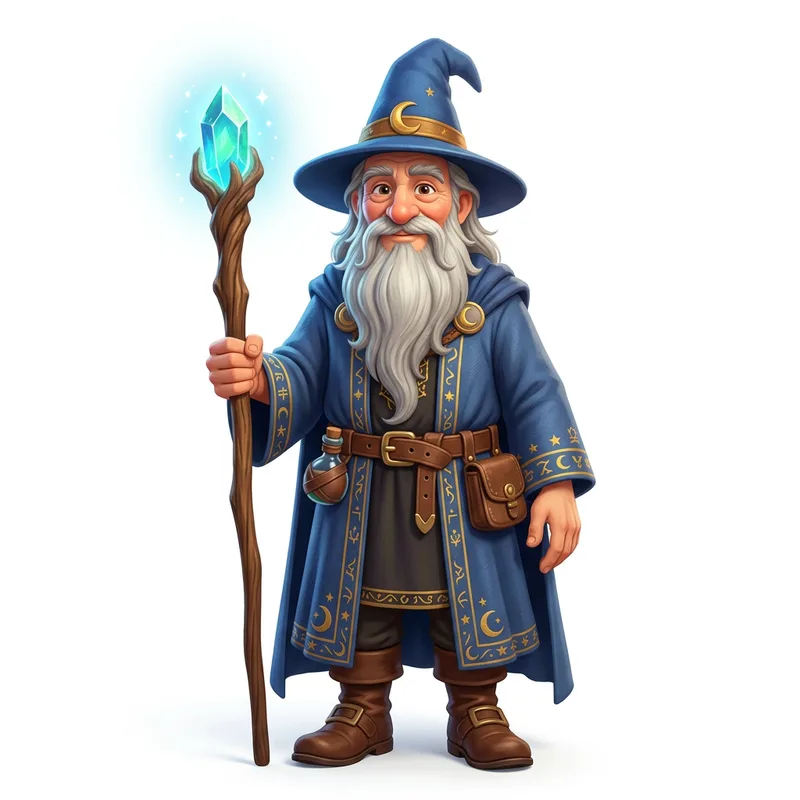 Photo
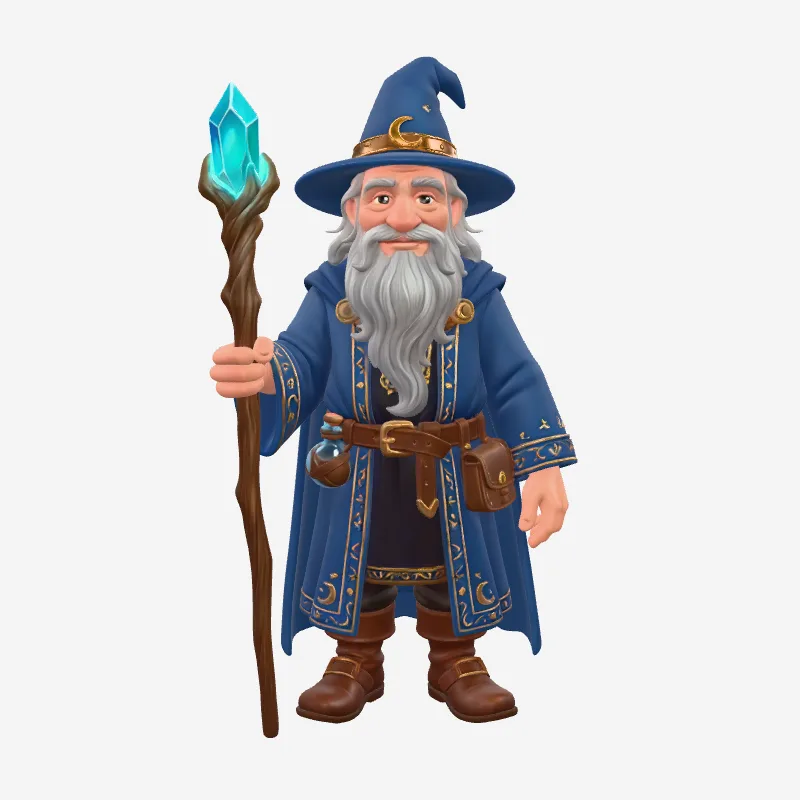 3D · front
 3D · side
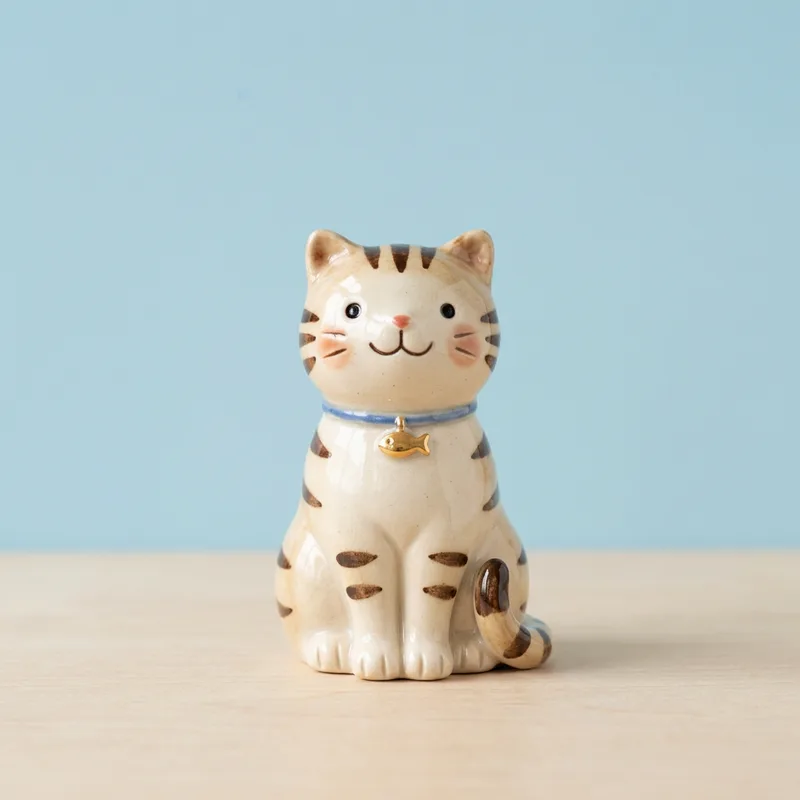
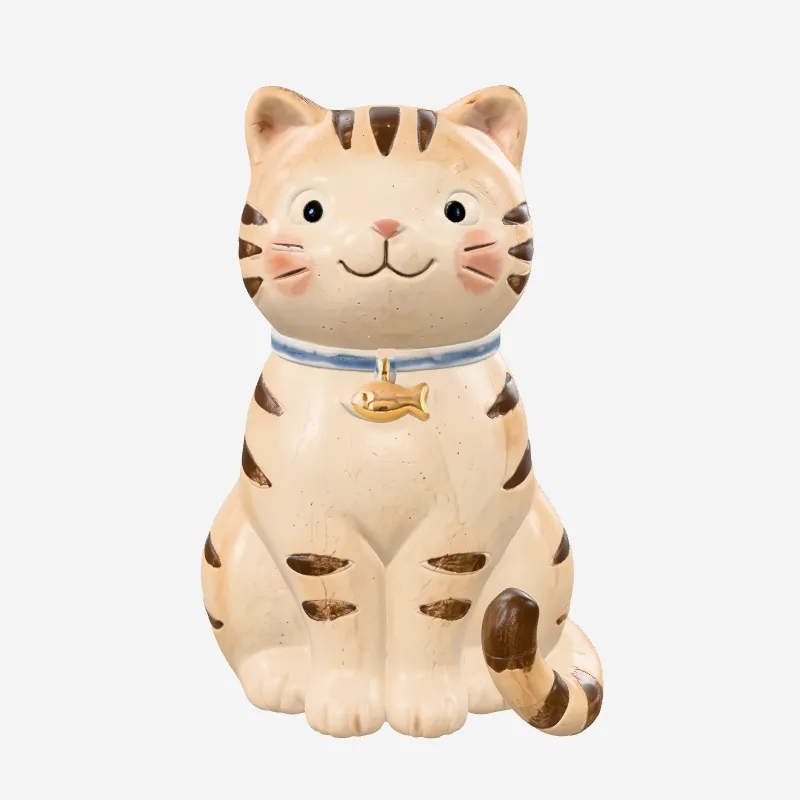
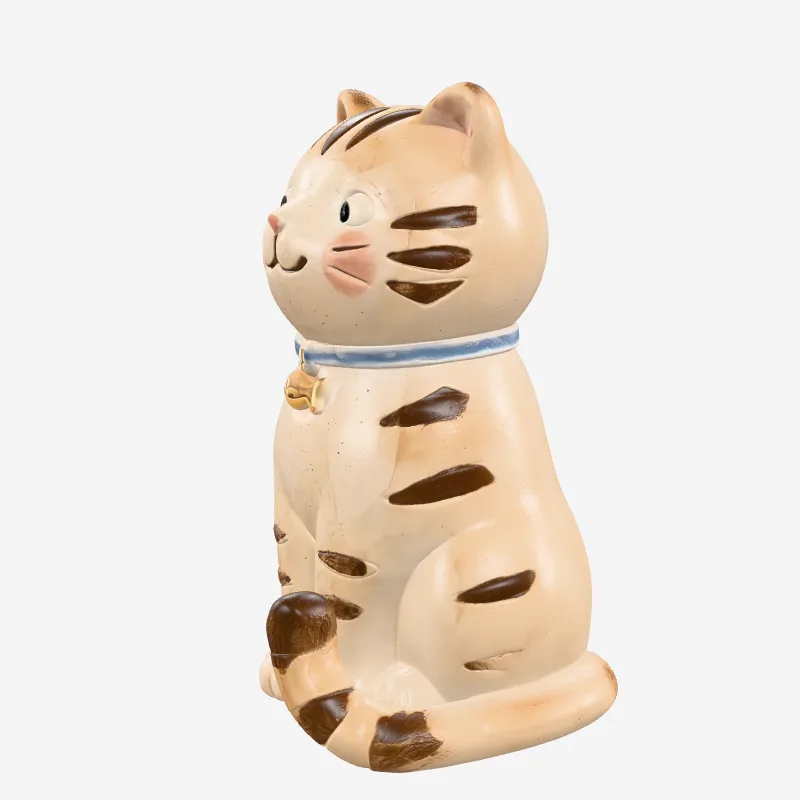
Ceramic cat → product model for AR
A plain product photo becomes a clean, closed model with the painted stripes kept as texture. Use it for an AR preview, a 3D viewer on a product page or a quick product render.
 Photo
 3D · front
 3D · side
How to turn an image into a 3D model
Three steps, no 3D software needed.
Upload one image
A clear front view of a single subject on a plain background works best. Characters, figurines, toys and products all work.
Pick Fast or HD
Fast takes about 1 minute for 20 credits. HD takes 2–3 minutes for 80 credits and gives a denser mesh with sharper detail.
Rotate and download
Drag to spin the model and check every side, then download it as a GLB file with textures included, or as an STL for 3D printing.
What you can do with an image-to-3D model
One picture in, a usable 3D asset out. Here is where people use them.
Game assets and prototypes
Turn concept art into a character or prop you can import into Unity, Unreal, Godot or Roblox Studio. It is a fast way to check scale, silhouettes and camera framing before anyone spends days on hand modeling. No artwork yet? Create a character with text to image or Nano Banana 2.1, then upload it here.
3D printing
Download an STL and slice it for a resin or FDM printer to make figurines, miniatures, keychains or gifts from a drawing or photo. Solid subjects with few thin parts print best, and a resin printer will hold more of the fine detail than a filament printer at small sizes. See the STL section below for scaling tips.
AR and product display
Let shoppers spin a product or collectible on a web page or view it in AR. GLB is the standard format for web 3D viewers and Android AR, and the textures are already packed inside the file. For product work, shoot the item on a plain background in soft, even light so the texture has no harsh shadows baked in.
Animation and rendering
Bring the model into Blender to light it, place it in a scene and render stills or turntable videos. The mesh comes in a fixed pose without a skeleton, so add a rig before animating a character. A character drawn in a relaxed standing pose with arms slightly away from the body is easier to rig than one with crossed arms or a tight grip.
Export STL for 3D printing
Every model can be downloaded as a GLB with textures or as an STL for 3D printing. The STL is converted right in your browser, so there is no extra wait in the queue and no extra credits. Both Fast and HD models can be exported; HD gives a denser mesh, which shows up as smoother curves on a large print.
How to export
- Generate a model, or open one from My Creations or a share link.
- Click Download STL. Conversion takes a few seconds; HD models are bigger and take a little longer.
- Open the file in your slicer, such as Cura, PrusaSlicer, Bambu Studio or Chitubox.
Before you print
- No colors. STL stores only the shape, so the painted texture from the preview is left out. Paint the print by hand, or keep the GLB for color work.
- No size units. STL does not say whether a number means millimeters or inches, so your slicer will guess. Scale the model to the height you want before slicing.
- Thin parts. Staffs, swords, hair strands and fingers may end up thinner than your printer can handle. Print larger, thicken them in Blender or Meshmixer, or add supports.
- Mesh check. If your slicer reports open edges or other errors, run its built-in repair before slicing. For a figure with a flat base, place that side on the build plate so you need fewer supports.
- Large HD files are converted on your device. If a phone runs out of memory, try on a computer or download the GLB and convert it in Blender.
Frequently asked questions
What to expect from image to 3D.
What kind of image works best?
One subject, seen clearly from the front, on a clean or plain background. Busy scenes, several objects in one picture, or subjects that are cut off at the edges give weaker results.
How does it know what the back looks like?
The AI infers the sides and back from the single front view. They will look plausible and match the style of the front, but they are a guess rather than an exact copy of the real object.
What is the difference between Fast and HD?
Fast takes about 1 minute and costs 20 credits. HD takes about 2–3 minutes and costs 80 credits; it builds a denser mesh with sharper texture detail, which helps for close-up viewing.
What file do I get?
A GLB file with the textures built in. GLB opens in Blender, Windows 3D Viewer, most game engines and many online 3D viewers. If you want to 3D print it, you can also download an STL; see the question below.
Can I download an STL for 3D printing?
Yes. Next to Download GLB there is a Download STL button, and you will find the same button in My Creations and on share pages. It converts the model to a binary STL in your browser. STL holds only the shape, with no colors or size units, so scale it in your slicer before printing.
Why is my STL the wrong size in the slicer?
STL files carry no units, so each slicer picks its own scale. Use the scale tool to set the height you want, for example 80 mm for a desk figure. Check thin parts at that size: the smaller the print, the more fragile they become.
Where can I find my models later?
Every model you make is saved in My Creations, where you can preview it in 3D again, download it or share it.
What happens to my credits if a generation fails?
If a model cannot be generated, the credits for that attempt are returned to your balance automatically.